| The following is based on the Imperial campaign of Red Alert 3 and might contradict canon. |
Barbarians at the Bay is the seventh mission of the Imperial campaign of Command & Conquer: Red Alert 3.[1]
Background[]
After the Imperial victory at Santa Monica, California, the Allies and Soviets realised the need to join forces against the Empire of the Rising Sun. Meanwhile, the Emperor and his son intercepted Allied/Soviet communications through their android spy - President Ackerman, and found out about the Soviet time machine.
Realising that the Empire came to existence by the Soviets meddling with time, and that the future can be changed, Emperor Yoshiro questions his faith in the divine destiny. He destroys the keyboard used to control Ackerman in rage, causing the android to lose control and overload, destroying itself. Meanwhile handed over his authority to Prince Tatsu. The joint Allied-Soviet task force launched an attack on Yokohama, where they set up four control towers aimed at disrupting Imperial communication.
Should the united Allied/Soviet forces prove successful in bringing the relay towers online, the Imperial forces would find themselves deprived of all command and control functions, leaving their resistance uncoordinated and easy prey for the numerically superior invaders. Thus, the situation was placed at top priority by Imperial Command.
Force composition[]
The Imperial Commander along with his old friend Shinzo were allowed to command the elite Empire Commando Yuriko Omega along with a clone 'sister' Yuriko Alpha. Their objective was to fight their way to the defensive locations on Yokohama Harbor and free the Imperial forward bases from Allied occupation.
The two Commandos were then joined a squad of King Onis who provided much needed armor support to the counter attack. Later on in the battle, the initial defense forces at Yokohama would be reinforced by infantry, armour, air and sea forces from across Japan, though the Empire remained very much outnumbered over the course of the engagement.
New additions[]
Events[]
Yuriko's Lament[]
Two clones of Yuriko Omega were deployed by the Imperial forces. They easily managed to destroy the Allied Guardian tanks, Peacekeepers, and Assault destroyers in their way. They were eventually joined by four King Onis at an Allied barricade. Continuing their course of destruction, they came to yet another blockade of javelin soldiers which were quickly subdued by several Shinobis, who had already infiltrated the city. Arriving at the base, the commanders split up: one commander taking the southern bases and the other commander taking the north.
Holding off the Allied Attacks[]
Meanwhile, the Allies under Lissette Hanley had set up their own bases across the harbor, around the control towers. The Allies attacked the Imperial positions with Assault Destroyers, Aircraft Carriers and Century Bombers. Using the Nanoswarm Hives, and the Yuriko sisters the Imperial forces managed to hold on until reinforcements had arrived.
Naginata Warships were firing torpedoes against Hanley's Assault Destroyers. Some Jet Tengus were overwhelming and firing their Autocannons, which ripping out the fuselages of some Apollo fighters, Yari subs doing some suicidal charges at Aircraft Carriers and finally Shogun Battleships sunk the whole allied fleet.
A Riptide sneaked into the Imperial base, but Commander Shinzo's King Oni monsters just crushed it under its legs and finally, the infantry that this Riptide deployed were cut down by the Shinobi. The Peacekeepers got cut down by the Shinobis and the Javelin Soldiers were later ended up being slain by Beam Katanas.
Some Allied Assault Destroyers managed to make it onto the beach, but the destroyers got crushed by the superior King Oni robots. Reinforcements in the form of Nanocores and the MCV had arrived and the Imperials prepare to attack the Allied forward base.
The Red General Arrives[]
| “ | Do you like my entrance? Wait until you see the exit - your exit! - Nikolai Krukov, upon arriving to help Lissette Hanley. |
” |

Radar picks up dozens of Soviet ships
Soviet forces were later joining the battle to help Lissette. The red menace's fleet, including several Dreadnoughts, arrived in Yokohama Harbour and began building up a Soviet presence in the area. The Dreadnoughts were taken by Krukov's command to attack the Imperial Commander and his base.
The Dreadnought attack took a lot of casualties, but none of the Dreadnoughts lived to witness the might of the Imperial Navy. Both Hanley and Krukov were sending their navies in for a great offensive on the Empire of the Rising Sun's homeland.
Destroying the Allied Relay Towers[]
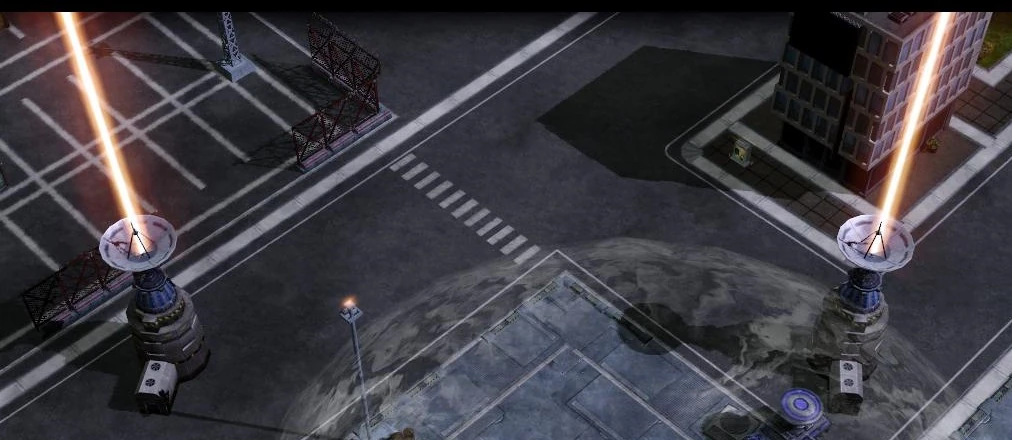
Two of the four relay towers
The Imperial commanders used their Nanoswarm Hives to delay the Allied relay towers from disrupting the imperial communications and buy themselves some precious time.While Naginata Cruisers and Yari Minisubs distracted the Allied and Soviet Navy, the Striker-VXs, Rocket Angels and Yuriko herself sneaked up to the first Relay tower and destroyed it. At least, Lissette wasn't thinking about the towers as she moved some tanks to defend the first tower. The Allies retaliated with a battalion of Mirage Tanks and Multigunner IFVs, but none of them survived Yuriko's wrath.
| “ | If there's anything I hate , it's a backstabbing no-good cheat! I thought the Japanese were supposed to have honor! - Lissette, after the first relay tower is destroyed. |
” |
After being labelled as "Backstabbing Cheats", the Imperials used their Tsunami Tanks to level the second Relay Tower before it disrupted the Imperial communications. Once again the Imperial commander used his Nanoswarm Hive against the Relay Towers, while ordering Shinzo to do the same. The Soviets retaliated with more Apocalypse tanks, but they ended up being destroyed by long range support from Shogun Battleships.
The third Relay Tower was guarded with many regiments of armor and infantry from the Alliance. The Imperials launched their final squadrons of their forces to obliterate the units in the area and the Shogun Battleships fired their Shirada Cannons and leveled that tower. The Battleships then used their ramming speed to sink the Dreadnoughts and the Aircraft Carriers to rule the waters (after Giles had one of his biggest failures to the Imperial Navy, commanding the Pacific Ocean).
Driving off the Barbarians[]
The Imperial fleet was stronger than the Soviet and Allied naval forces combined, resulting in a turning of the tables. With Shogun Battleships pounding the structures more closer to the waters, a large portion of the two bases were quickly destroyed. Using Rocket Angels, Tsunami Tanks and Striker-VXs, the standing buildings were quickly dispatched and the towers destroyed.
Tsunami Tanks fired their plasma cannons on Guardian Tanks and the Rocket Angels struck the Mirage Tanks and Apocalypse Tank engines with their rockets; Athena Cannons were destroyed by Chopper VX missiles and finally the last of the Soviets and Allies were driven off. Yuriko toppled the Allied and Soviet Construction Yards with her psionics and gave them a warning: never to return to Japan again.
Aftermath[]
With the defeat of the barbarian invaders, the hastily-constructed Soviet+Allied coalition began to crumble, as the two sides began to bicker, blaming each other for their losses. Demoralized by their failure to crush the Empire together, the Allies and the Soviets went their own ways, each preparing for the inevitable Japanese counterattack as best they could.
The Allies, to whom their forces exhausted from the fighting against the Soviets and three major assaults against the Empire, were in no shape to strike again, pulling their forces back and trying to regroup. Meanwhile for the Soviets, their homeland already buckling under the weight of the Imperial invasion, began to withdraw to the heart of their territories, hoping that a consolidated defense could break the back of the Imperial advance and turn the tide of the war in their favour.
Meanwhile, the battle had seen a major shift in the Empire's leadership. Realizing the mistake of not completely subjugating the Soviet Union earlier, Yoshiro had transferred his powers to Crown Prince Tatsu, who now began the preparation for the extermination of the Soviet Army at Moscow.
No longer would the Empire focus their efforts on crushing the enemy's spirits and weaken their morale. For the offense levelled against the Empire for attacking Japan itself, only the complete obliteration of the communists' military and political strength would suffice.
Walkthrough[]
The player starts with the ultimate infantry unit in the game: Yuriko Omega. Use her ability only when she is surrounded by infantry and destroy the assault destroyers and guardian tanks with her main attack. When Yuriko makes it to the Allied wall King Onis which are the empires most powerful ground vehicles will arrive to assist. Advance to the base and shinobi will appear and cut down the allied infantry.
After gaining control of all four bases at the harbour, especially when on higher difficulties, the player is suddenly placed in a severely ill-prepared situation with limited resources and minimal forces vulnerable to the incoming enemy attacks. However, this may be avoided. At first, capture only the Instant Dojo. Try to reroute Shinzo's forces to follow the commander's King Oni instead of the default leader unit Yuriko Omega to avoid capturing the other three bases (i. e. trigger the next event). Capture both oil derricks. Use a combined force of the Rocket Angels newly trained and Yuriko Omega to eliminate the enemy navy. From this point onward, restrain your forces from destroying enemy buildings (except defences) as destruction of more than three buildings or a single Construction Yard can trigger the event of Krukov's arrival, which will complicate the situation at this moment. Move your forces to the middle, lure the enemy vehicles out from their formation to destroy them one by one and advance further inland. Yuriko Omega can be used to destroy lone turrets but she will not survive more than one. Infiltrate the enemy power generators with Shinobi to create a short gap for clearing the enemy defences. Do not swarm the Rocket Angels against active Multigunner Turrets as their surprisingly high splash damage can easily and instantly wipe an entire squadron out from the sky. If the player is short on resources to replenish the lost troops, Shinobi may also be helpful by stealing enemy funds.
Afterwards, train as much engineers as possible and move each of them close to one of the enemy buildings. Set a planned route to the target buildings and give the order at once to capture most if not all Allied buildings (at least the critical ones). On higher difficulties, the enemy may occasionally train units to attempt to kill your engineers. Therefore it is important to act fast and it may help by briefly guarding them with Rocket Angels. Immediately afterwards, General Krukov enters the theatre and starts building his base. First divide the Rocket Angels to eliminate both fleets coming from the north and the east. Then combine all air forces to assault the soviet base while the enemies are still shooting at your captured Allied buildings. Again to reduce casualties, sneak up to the north-east side of the enemy base and destroy the power generators before handling the rest of the enemy forces. If the player acts fast enough, during the final phase of the battle, the soviet forces should not be able to build up any significant resistance except a small number of Flak Troopers, Bullfrogs and lone MiG Fighters to threaten the commander's air armada. Overall this strategy is relatively straightforward to carry out but may be slow at first due to the limited funds.
Trivia[]
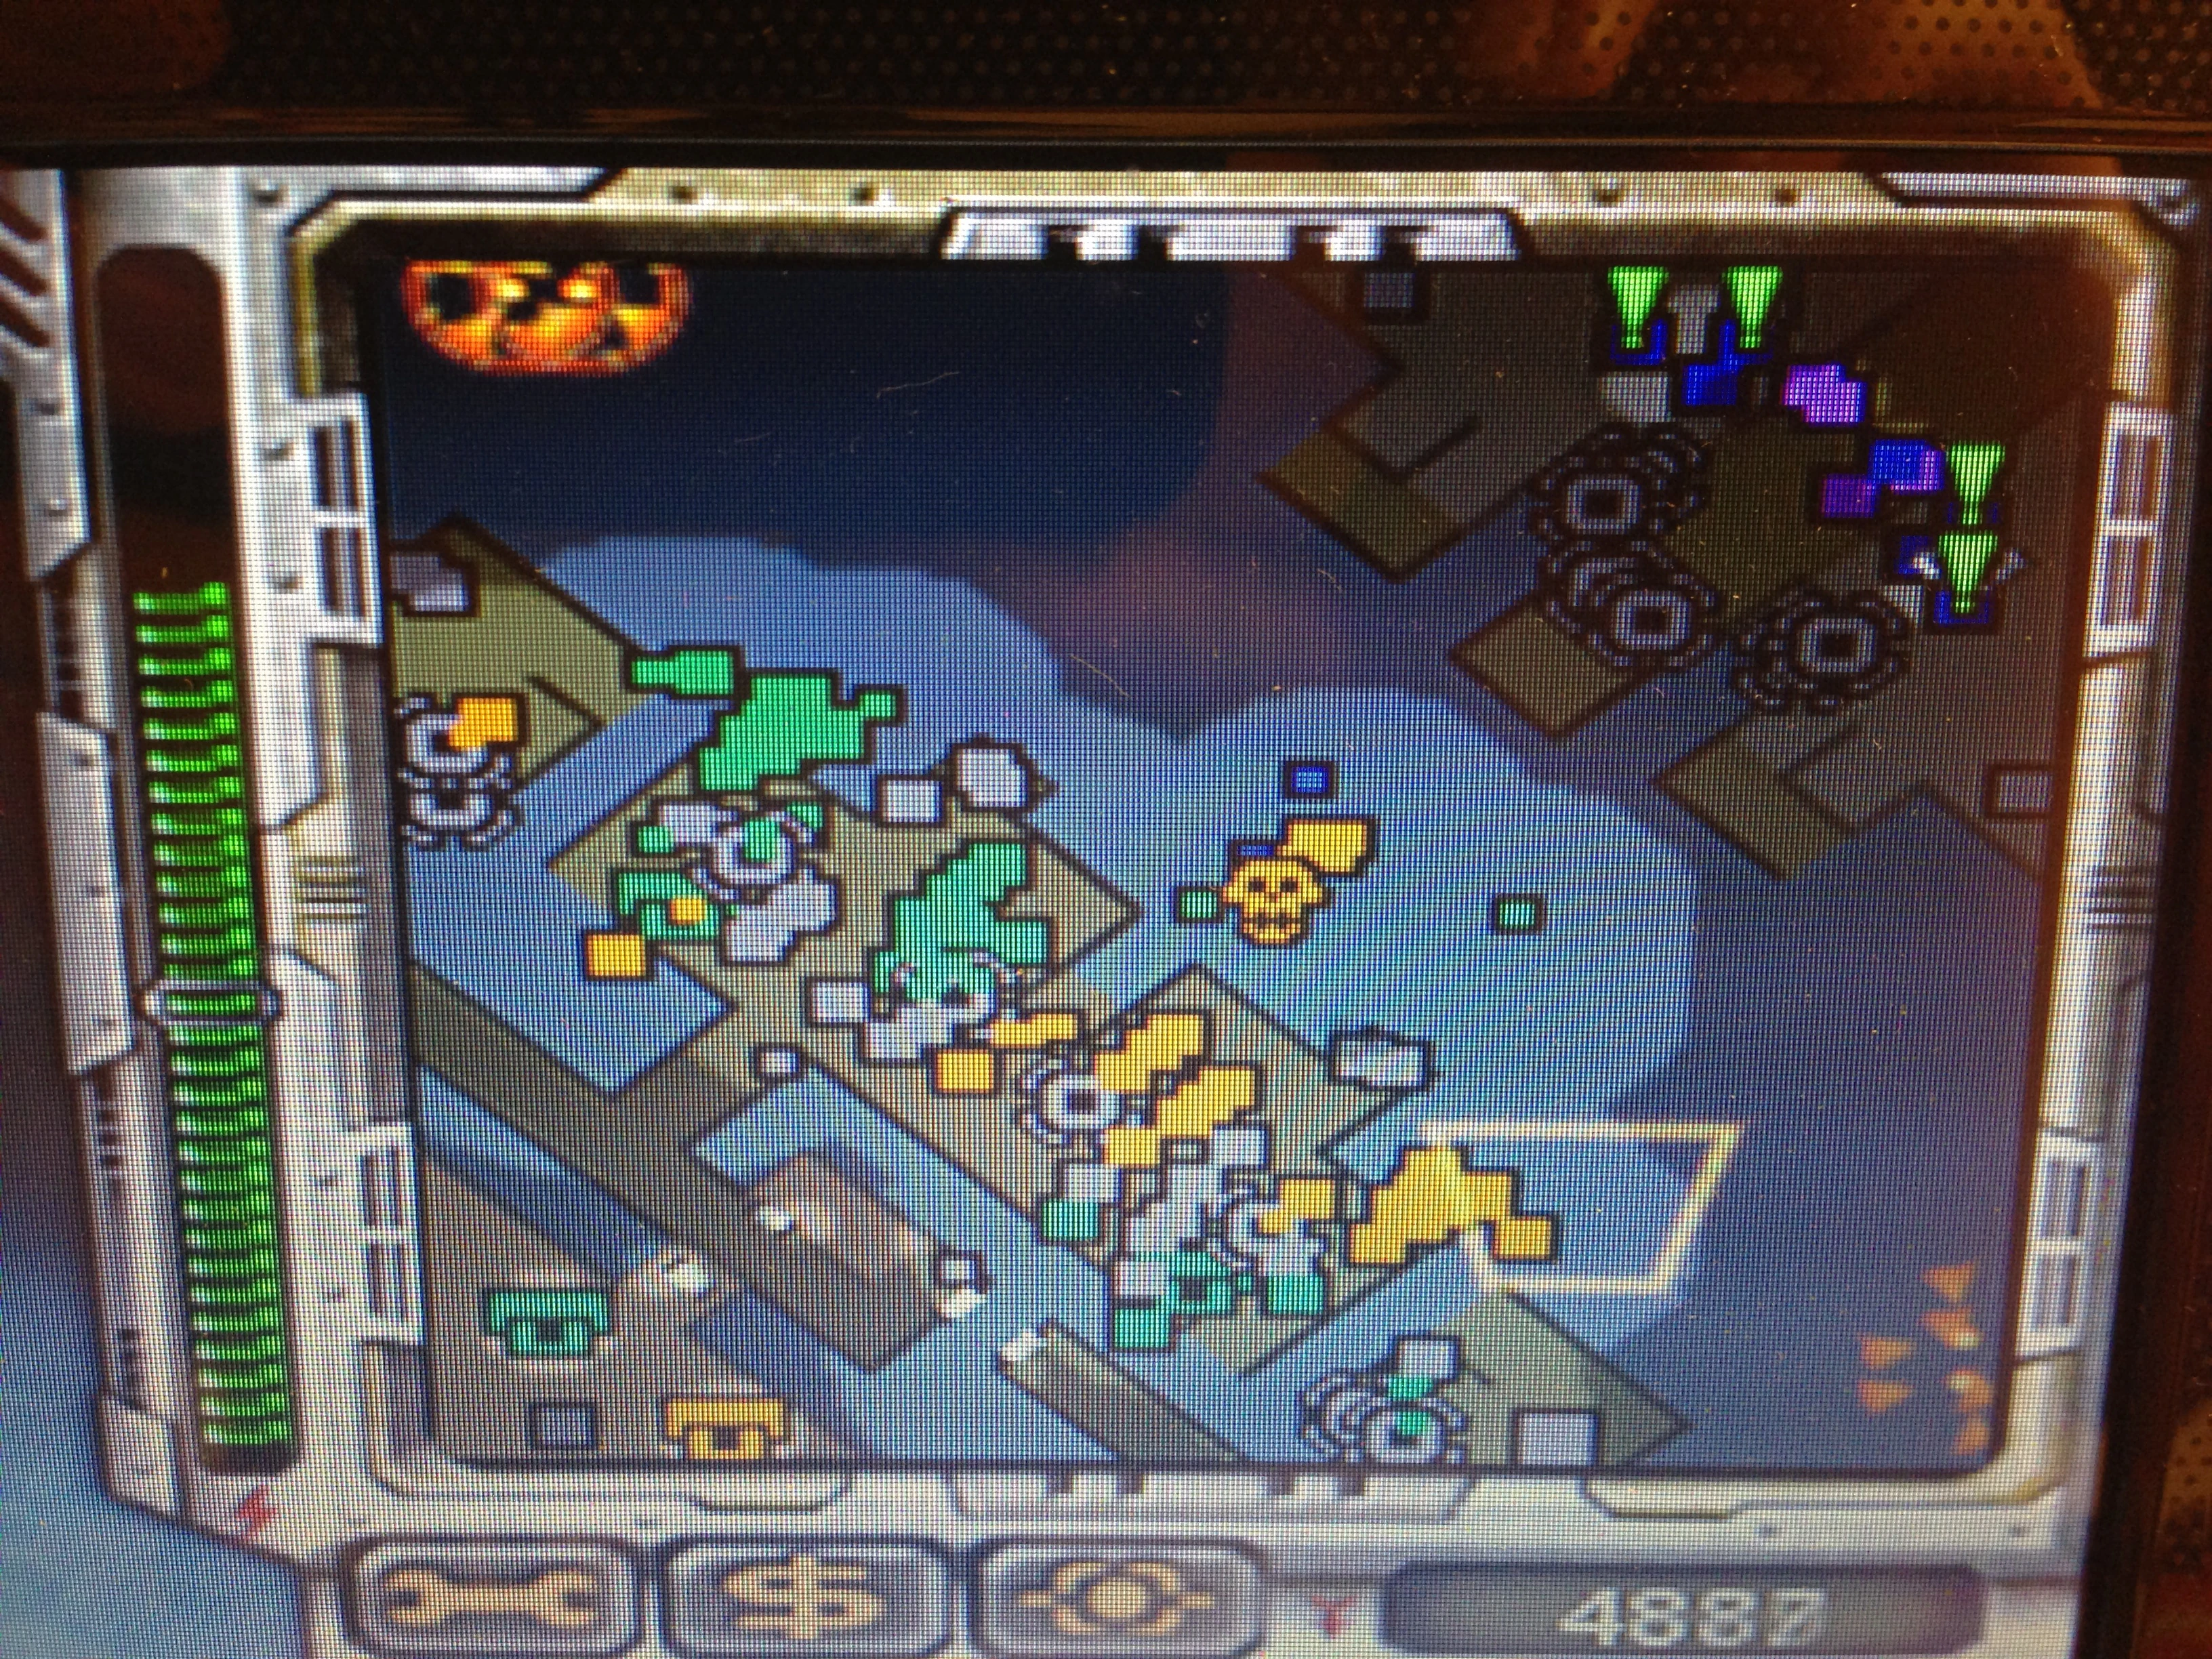
- Emperor Yoshiro's favourite amusement park which was mentioned in "Rage of the Black Tortoise" could be seen to the west of your base.
- The Psionic decimator is available in this mission even though it is introduced to the player in the next mission. The timed nature of this mission means few opportunities to use it, however.
- This is the first of the two missions where the player will fight the Allied-Soviet alliance. The other is The Last Red Blossom Trembled.
- From the Allied perspective: The scene also has similarities to The Great Bear Trap.
- Both Gregor Zelinsky reveals to the Allies they invent the time machine.
- The scene was observed by the President Ackerman, unlike in the Allied Mission where he was killed.
Videos[]
References[]
- ↑ Electronic Arts Los Angeles, Command & Conquer: Red Alert 3. Imperial mission 7: "Barbarians at the Bay".