Enemy of Our Enemy is the fourth mission in the Allied campaign of Command & Conquer: Red Alert 3. The war between the Allies and the Soviets took an unexpected turn when the technologically-superior Empire of the Rising Sun declared war on both superpowers, forcing the two war-weary factions to unite against the Empire.[1]
Background[]
A New Enemy[]
While the Allies and the Soviets were embroiled in their conflict in Europe, the little-known Empire of the Rising Sun took advantage of the situation and struck at key chokepoints across Europe. Imperial forces captured the Allied naval base at Gibraltar while a Floating Fortress blockaded the Soviet naval routes in the North Sea. Emperor Yoshiro broadcast his ultimatum throughout the world: the two superpowers will either "submit to the Empire" or "cease to exist".
An Unlikely Alliance[]
| “ | These commies go against everything we stand for. Freedom, liberty, the pursuit of happiness, Apple Pie...did I say freedom? Well, it's worth saying again! - Howard T. Ackerman arguing with Bingham against the alliance |
” |
Field Marshal Bingham was initially shocked at the Empire's declaration of war but he also knew that with most of the Allies' resources committed in Europe, they could not defeat this new enemy alone. The Soviets were in the same situation so Bingham was forced to take diplomatic action and asked the leaders of the Allied nations for a ceasefire with the Soviets and combine their armies to fight against the Empire. Only the US President Ackerman was opposed to the temporary alliance, stating that the communists stand against the pursuit of freedom and capitalism. Bingham then informed the Allied Commander that the Empire believed that it was their divine destiny to conquer the world, and ordered him to "prove them wrong".
Eva McKenna and Agent Tanya were also hesitant about working with their long-time nemesis despite the alliance but both warned the commander to be careful...
Force composition[]
| “ | Well, look who I get paired up with. I'll pretend to forget that you destroyed my base in the South of France. But we have work to do here. I am going to focus on the ground battle. But don't start pushing me! GOT IT? - Moskvin upon learning who he is working with |
” |
The combined Allied and Soviet forces were not yet fully deployed into the battle field due to the presence of the Empire's heavy forces as it was rumored that there was a King Oni in the area that could prove to be a problem for the arriving Allied and Soviet forces.
Therefore for the first time, the Allies and the Soviets would deploy their best agents into battle as Tanya and Natasha were sent out to clear the way for the operation to work out once their forces had arrived on site. The two commandos were led by the Allied Commander and Moskvin himself.
The very second Moskvin found out that he was working with the same Allied Commander who defeated him in Cannes, he showed a very angry look, stating that while he would work with him, he warned the Commander not to push him.
New additions[]
Events[]
| “ | Why you little...! Commander, permission to speak freely. I hate that chick! - Tanya |
” |
Insertion[]
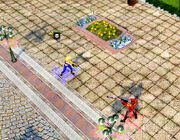
Tanya and Natasha arrived into the battle zone
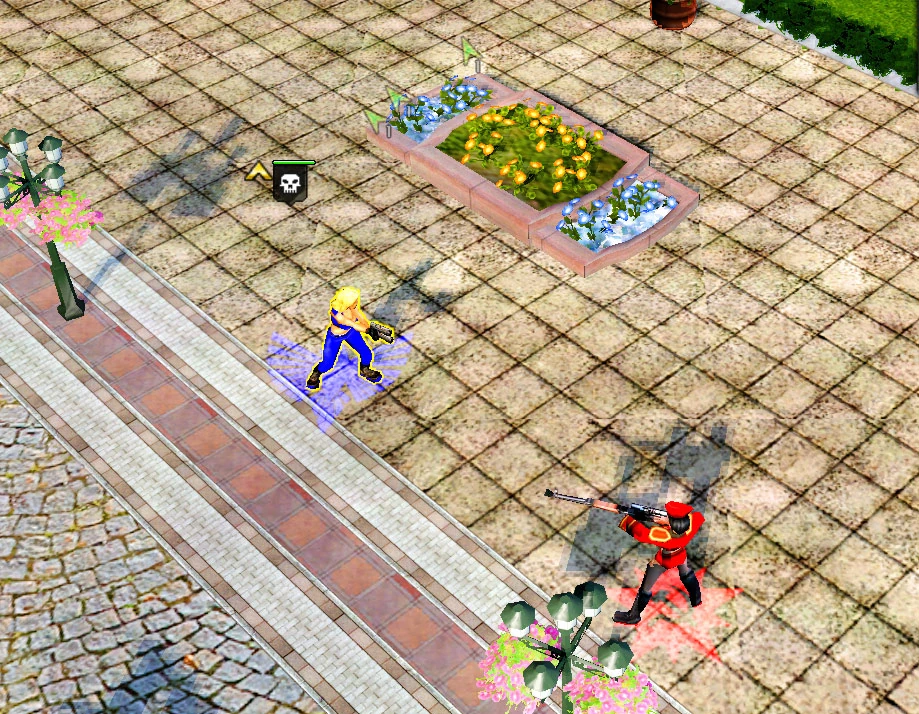
Tanya and Natasha arrived into the battle zone by sea with Tanya commenting on how cold the waters were, while Natasha decided to speak out about how she had swam in the much colder rivers of Russia in winter. Tanya was not amused.
The Commander then receives a video message from Emperor Yoshiro himself, saying that while he was impressed that the Allies and the Soviets were able to lay aside their differences to fight the Empire, they were still destined to lose. The two Commandos land on the beach and began taking out Imperial patrols.
The Empire had stationed several detachments of their Imperial warriors while those were supported by roving bands of Tsunami Tanks. Despite their differences of combat approach as well as their desire to needle each other, the two worked well enough to fight through the Imperial forces before them.
As they fought their way through the Imperial forces, it was not long before the two women came into sight of the objective. The city of Gibraltar was ahead of them and they proceed to enter it. However, they would have be careful as the Imperials had garrisoned several structures in the area, and those were well fortified and too risky for either to assault the conventional way, therefore the two worked to eliminate the garrisons with Tanya allowing Natasha to lace the garrisons with her laser target designator to begin air strikes. Tanya also got the one up, as she can level buildings much faster than Natasha.
Retaking Gibraltar Airport[]

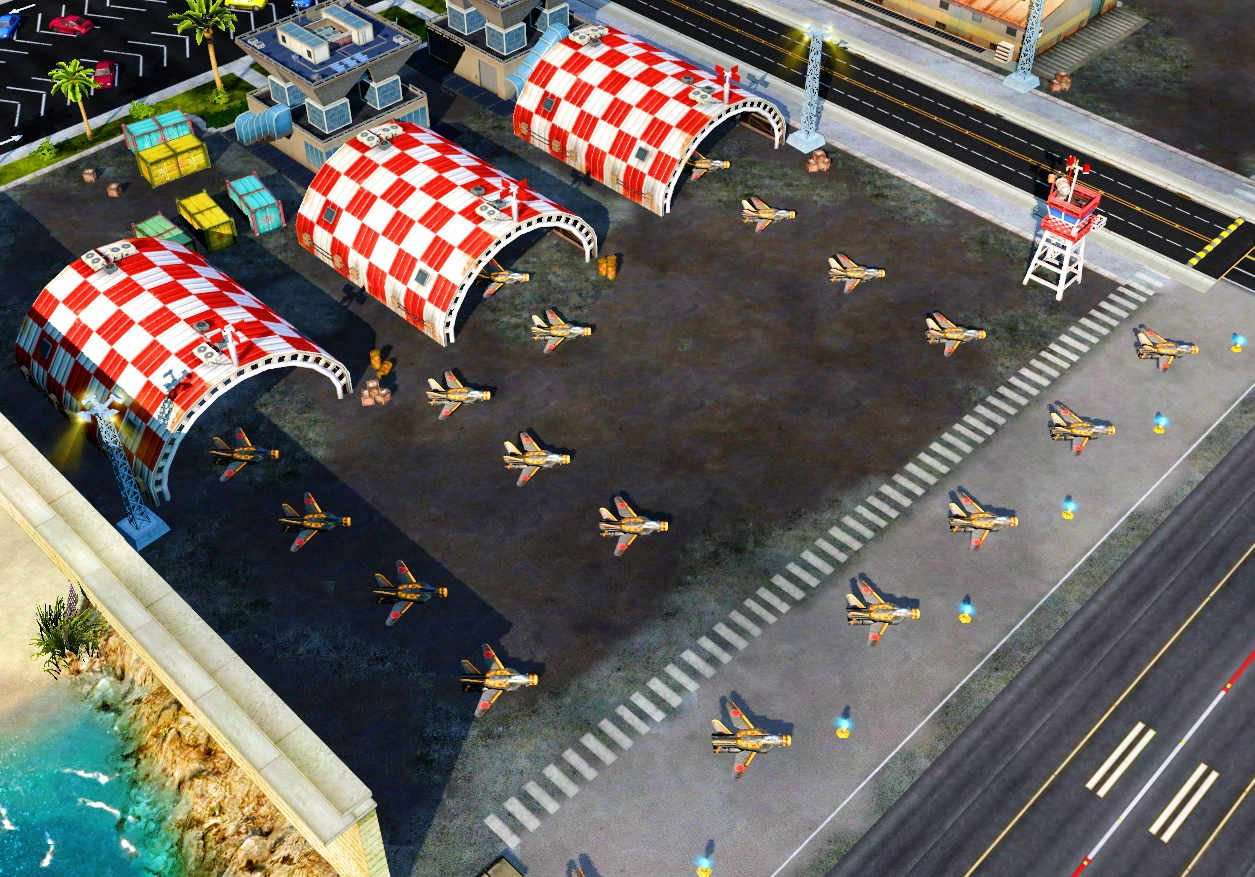
The Gibraltar Hangars
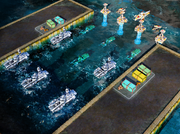
As Tanya and Natasha slipped into the city of Gibraltar from the waterway and began to move into the battle zone. Their objective was to destroy a Japanese-controlled airfield and the large number of Jet Tengus parked there in order to weaken the Imperials for their reinforcements to arrive.
They encountered several groups of Imperial infantry and tank patrols (as well as a single King Oni, that was sent there and could have become a serious problem if allowed to remain operational) but they were brushed aside by Natasha's Badger bombers and Tanya's pistols as well as her C4.
After the forces that were before them had been dealt with, the two female commandos made their way into the area, with most of the Imperial garrison force killed or reduced to rubble there was little opposition that was in the way of both commandos. They proceeded to destroy the Gibraltar Hangars occupied by the Empire by blowing up the Jet Tengus there.
Liberation of the Assault Destroyers[]
| “ | Well, isn't this adorable. Two sworn enemies coming together as one. How moving. How heartwarming. How futile. - Kenji |
” |
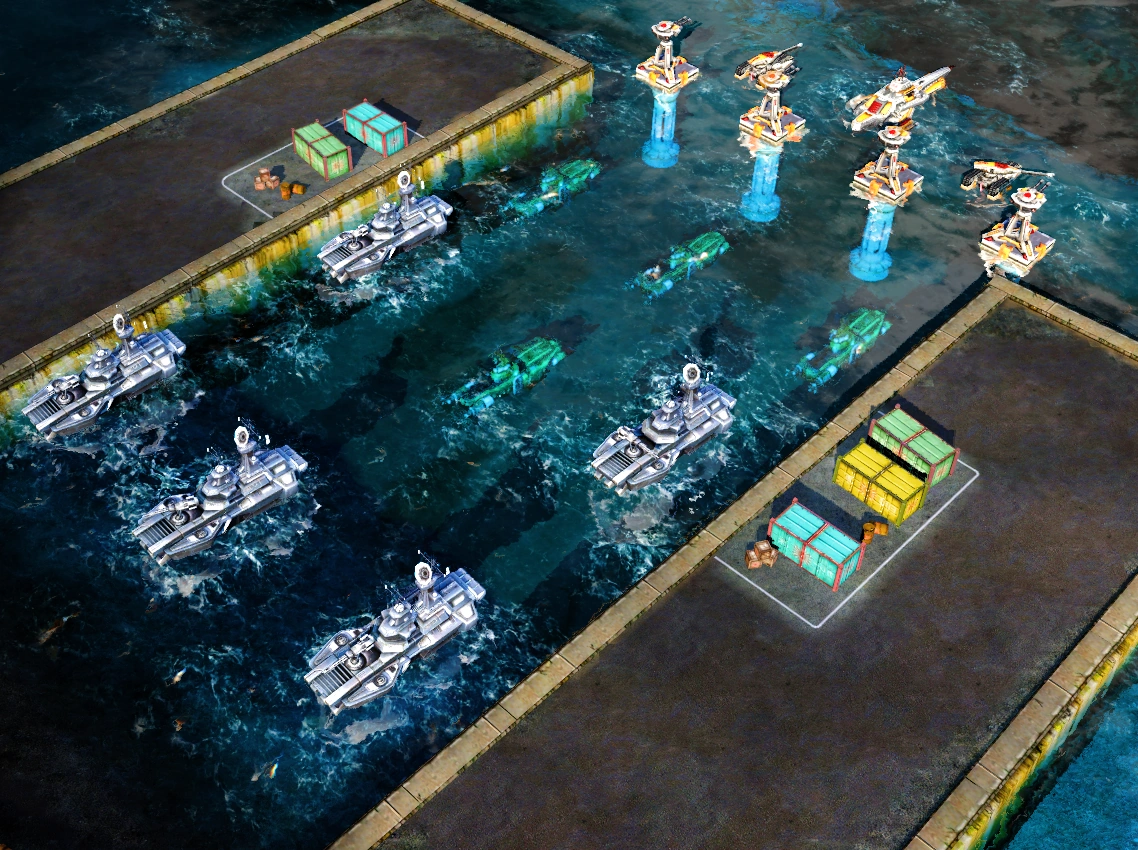
Assault Destroyers and Akula submarines being held captive
After reinforcements of an Allied and Soviet MCV arrived, the Allied and Soviet alliance built up their respective forces and prepared to liberate their Assault Destroyers and Akula Subs. The Japanese commander, Kenji Tenzai mocked at the alliance stating it was still futile. Both the Allied commander and Moskvin sought to prove him wrong.
The Imperial Warrior Horde[]
Tanya saw a bunch of Imperial Warriors preparing to charge at her and Natasha but each Warrior one by one ended up with bullets in their heads and the huge horde of Imperial Warriors were stopped in no time.
The Japanese Counterattack[]
A horde of Tsunami Tanks were seen approaching the Allied base from the waterways. Javelin Soldiers were ordered to garrison the nearby structures to hold off the tanks while a strike force was being built. The Javelin Soldiers, along with Multigunner Turret defenses managed to hold off the Tsunami Tanks long enough for Vindicator air support to finish off the tanks. A Stingray Strike force was completed on schedule for the liberation of the Akula Subs and Assault Destroyers.
Liberating the Captives[]
| “ | Assault Destroyers Roll out! Lets pound these bastards into the ground! - Allied Soldier |
” |
| “ | You may have tasted a small victory, but you will not defeat the Empire of the Rising Sun! It is our time. - Kenji upon the liberation of the Assault Destroyers |
” |
With Vindicator air support and Stingrays swarming the Japanese defenses, the Assault Destroyers were slowly liberated one by one.
With the Assault Destroyers liberated, the Imperial base was destroyed. A Prospector was deployed there to gain more ore to build more Assault Destroyers.
Naomi's Fleet[]
| “ | We have intel about Imperial forces about flank you from behind. Be careful commander, I've been told they're bringing a lot of firepower. - Eva |
” |
| “ | This port belongs to the Empire of the Rising Sun. Leave, or I'll turn your primitive army into a scrap yard. - Naomi |
” |
Eva contacted the commander and told him that a massive Imperial fleet was headed his way. They would be arriving from the south, behind the Allied and Soviet bases. The Commander quickly got Vindicators and Cryocopters in the air. The Imperial fleet soon arrived, even packing the power of a few Shogun Battleships. However, the Cryocopters quickly froze or shrunk them down, and the Vindicators and Twinblades destroyed them.
Amphibious Assault[]
The Allied Commander quickly sent over a small task force of Assault Destroyer and Riptide ACV to the Imperial base. While the Imperial forces put up a good fight, air support from Vindicators and Twinblades eventually overwhelmed the defenders.
Aftermath[]

Tanya and Natasha after the mission
The outcome of the operation in Gibraltar was a success for the Soviet-Allied alliance as the Assault Destroyers and their crews were rescued, these brave men and women quickly join the fight and proved to be extremely effective in supporting the combined Allied and Soviet assault on the Imperial forces in Gibraltar.
The Imperials were beaten away from the city and even the feared Imperial Navy under the personal command of shogunate leader Naomi Shirada that was sent to aid Kenji were defeated, with hundred of Imperial soldiers dead and others captured before they could commit suicide on trial.
The remains of the Imperial vehicles and buildings that were left strewn in the city and even in the bay of Gibraltar were quickly recovered by Allied and Soviet salvage teams to determine the exact mechanics of the Imperial arsenals to make sense of how the Empire was able to build such advanced technology for the army that they had deployed into battle. Tanya was happy that she no longer had to work with Natasha as she was not in the mood to trade barbs with the Soviet sniper again.
Despite the still lingering doubts of the alliance between the two factions, the success of the operation proved that the alliance was very much worth it, with the newly acquired Assault Destroyers, the Soviets and Allies continued their alliance as they prepared to assault a floating fortress in the North Sea.
Walkthrough[]
Use Tanya's time belt to heal damage only if her health is on the red. Get Natasha to use her airstrikes on the garrisoned structures as they have Imperial Warriors in them which will prevent Tanya from blowing them up without taking too much damage.
Target the landed Jet Tengus to destroy the Hangers. Once thats done the Allied MCV will arrive on land and the Soviet MCV will arrive on sea. If the King Oni isn’t destroyed then it will attack the Allied Base. Get Tanya to blow up the walker or get the newly acquired Cryocopters to help take it out. The Soviets will attack with Stingrays and Bullfrogs so get Vindicators to assist them on destroying the Imperial ships but watch out for the Jet Tengus.
Once the Assault destroyers and the Akulas are liberated the player can build more Assault Destroyers which are the Allies’ most powerful heavy assault tanks on land and anti naval ship on water. Capture the nearby Ore Mine and destroy the two King Onis with the Vindicators because the Assault Destroyers are no match for the King Onis without Cryocopter support.
Admiral Naomi will attack the Soviet base with a very large navy that includes Shogun Battleships. Get bombers and Cryocopters to stop them before they take out your ally. After the Imperial armada is destroyed focus on getting Guardian tanks or Assault Destroyers to wipe out the Imperials.
Trivia[]
- This is the first of two missions in which the Soviets are allied to the player. The Unfathomable Fortress is the other.
- In both missions the Soviets will still be coloured red as usual even though co-commanders in all three campaigns are usually coloured green.
- Playing this mission on Easy difficulty removes the Empire base near the trapped Allied and Soviet vessels. However, the King Onis guarding the Ore Mine to the southeast of this location will still be present.
Videos[]
References[]
- ↑ Electronic Arts Los Angeles, Command & Conquer: Red Alert 3. Allied mission 4: "Enemy of Our Enemy".