MARV Rising is the eighth mission in the campaign of Kane's Wrath.
Background[]
| “ | Nod intelligence believes this new GDI weapon is called a Mammoth Armed Reclamation Vehicle. It is used to eradicate Tiberium and it is heavily armored and heavily armed. If we don't stop it, we could very well lose our foothold in Africa. - Alexa Kovacs |
” |
After Kane left for Temple Prime, Alexa Kovacs informed LEGION of a developing situation in the African Red Zone - GDI's anti-Tiberium division, Zone Operations Command, had begun Tiberium abatement in the zone. To make matters worse, they deployed a new weapon known as the Mammoth Armored Reclamation Vehicle, which had already destroyed several Nod patrols in the area. In order to develop a suitable counter, LEGION was ordered to destroy the MARV and capture the ZOCOM facility where it was maintained.
Though the MARV proved to be a powerful unit, LEGION was able to destroy it and secure the wreckage. He then captured the reclamator hub within the ZOCOM base and uploaded the data inside to Nod's central server. ZOCOM forces attempted to destroy the reclamator hub to prevent the data upload, but were repelled by LEGION's forces.
Using the data obtained from the wreckage and the reclamator hub, Nod science division designed a unit to counter the MARV - the Redeemer, a massive walker based on the Avatar Warmech and the technologies used in the MARV. Kovacs ordered LEGION to begin field trial immediately, so LEGION constructed a Redeemer engineering facility and assembled a Redeemer. ZOCOM forces brought in reinforcements, including two more MARVs, in a last-ditch attempt to defeat LEGION. However, LEGION was able to destroy ZOCOM's base in the region, ending their reclamation efforts in the African Red Zone.
New units[]
Walkthrough[]
(Note: This walkthrough assumes Hard difficulty.)

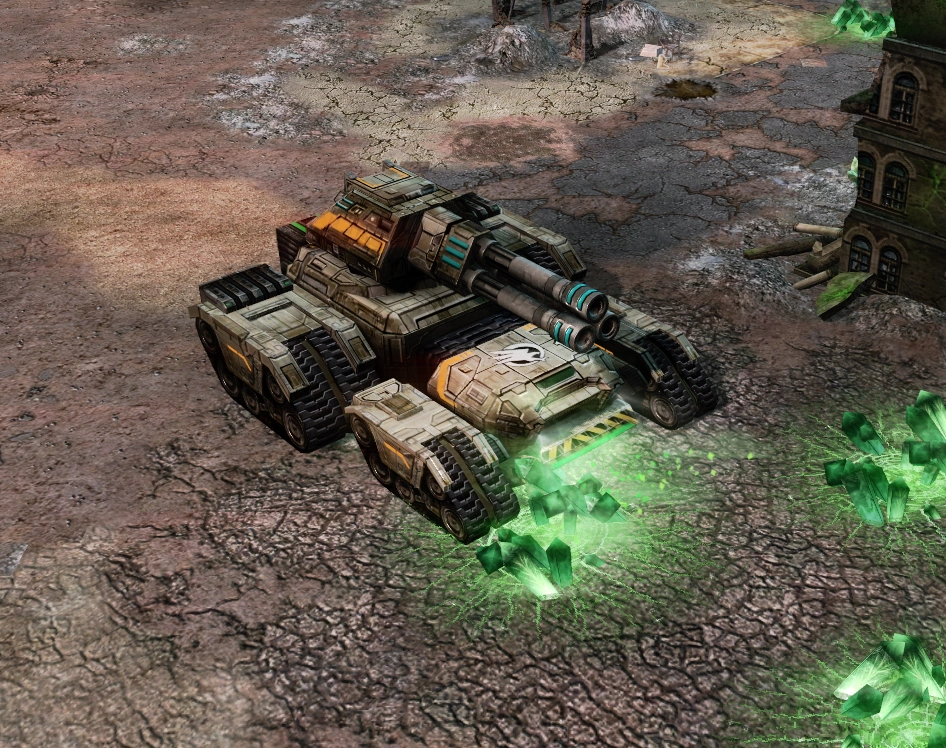
The initial MARV

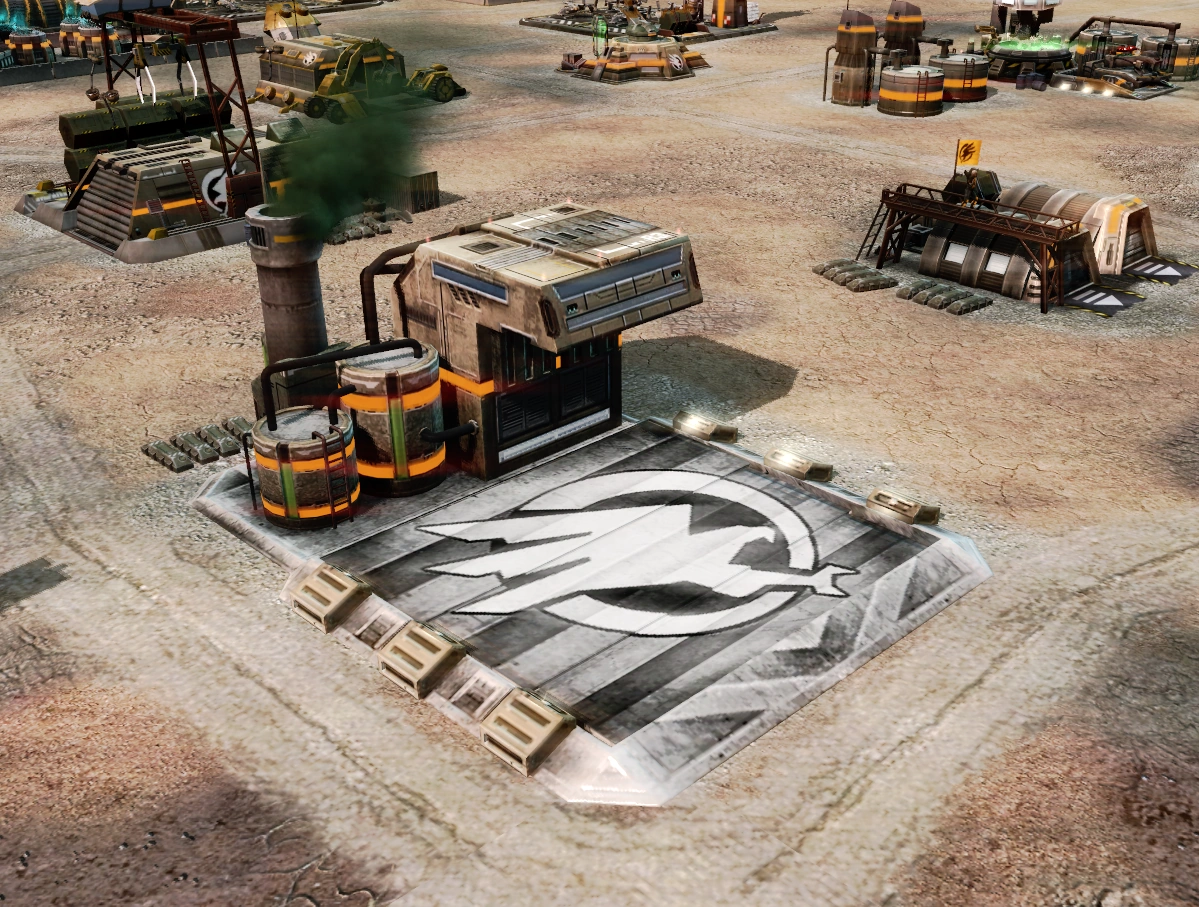
The reclamator hub inside ZOCOM's base
You start with a Tier 3 Nod base, with three fully upgraded Avatars, stealth tanks, and Specters.
First, purchase the Tiberium core missiles upgrade at the tech lab and the quad turrets upgrade at the operations center, then build some Obelisks and SAM turrets on the perimeter of your base. Make sure to cover the western and eastern edges. Once your entire perimeter is covered by defenses, build four Vertigo bombers.
Move your three Avatars forward until you see some Zone raiders. This will cause them to enter the MARV, which will advance toward your base. Attack the MARV with your Avatars and lure it toward your Obelisks. Have the Specters bombard the MARV from behind the Obelisks and the Vertigoes bomb it while continue attacking the MARV with your Obelisks and your Avatars. This should destroy it quickly. Do not be afraid to lose one of your Avatars as you can simply recapture it.
With the MARV taken care of, capture the Tiberium spike close to your base. Build three more Specters, Avatars, flame tanks, and five attack bikes. Upgrade the Avatars with the flame tanks, then move them closer to the ZOCOM base to clear the garrisoned buildings. Keep the attack bikes close to them to shoot down any ZOCOM aircraft. Destroy the battle bases at the outer edge of the ZOCOM base with the Specters, then move the Avatars in and burn down all production structures save for the construction yard and the reclamator hub. Alternatively, you can save the production structures to be captured later, though you will have to destroy any units that they produce quickly.
Bring in some Saboteurs via Reckoners and capture the remaining structures in the ZOCOM base, but DO NOT capture the reclamator hub yet. Build some Mammoth tanks and Slingshots, and construct a ring of sonic emitters and AA batteries around the reclamator hub. Tech up until you can construct an ion cannon control center, which will be useful later, then capture the reclamator hub.
At this point, you will have to defend the reclamator hub for six minutes. You will be attacked by Hammerhead, Predator tanks, Zone Shatterers, Zone raiders, Mammoth tanks, and near the end, Juggernauts. Bear in mind that your starting base will also be attacked, but the defenses you built earlier should be enough to keep it safe. If a Juggernauts starts bombarding your defenses, send two Vertigoes to destroy it. Try to capture those Juggernauts if possible. During the attack, build a few Avatars in your initial base.
After the countdown is finished, you will be given access to the Redeemer engineering facility. Construct the building as soon as possible and build the Redeemer once it is finished. You will also gain access to the Temple of Nod, though you will not need it. At this point, two more MARVs will approach your main base. You will not be able to construct the Redeemer in time, so pull all your forces from the captured ZOCOM base back immediately. Build some more Obelisks to bolster your defenses if possible.

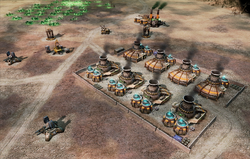
The western ZOCOM base's entrance
You should be able to destroy one of the MARVs with your Avatars, the Obelisks, and the Vertigo bombers.Try to delay the other one as much as possible (bombing it with Juggernauts is a good idea) until the Redeemer finishes construction. After that, your forces should have no problem destroying the MARV.

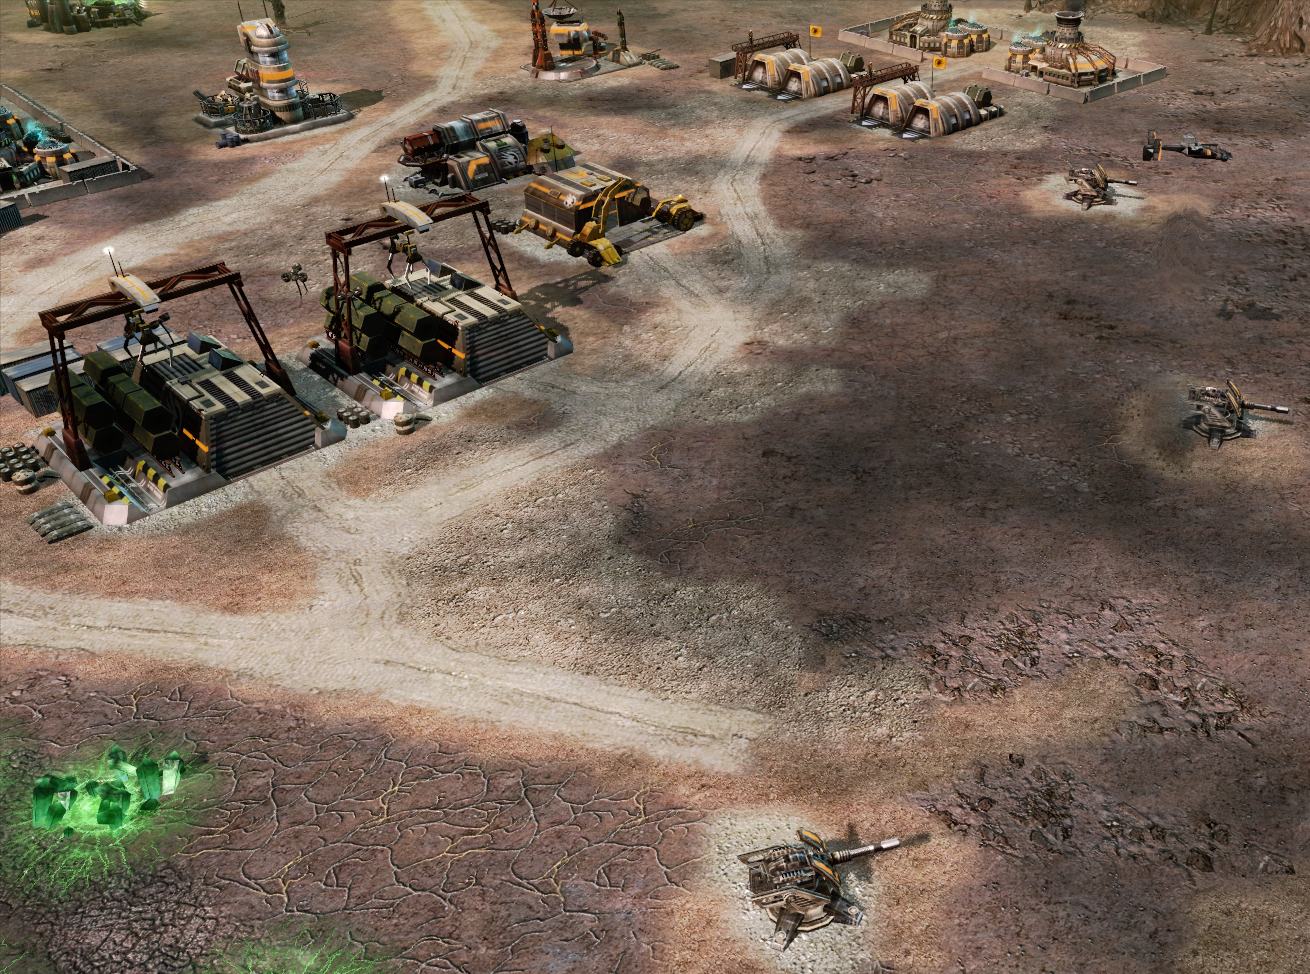
The eastern ZOCOM base's power plants
After the MARVs are down, switch your focus to the ZOCOM base. The entrance to the ZOCOM base in the west is poorly defended, protected by only a few Guardian cannons. You should be able to take it out using your Redeemer alone, though you can back it up with a few Avatars. Load the Redeemer with two Black Hand squads to make destroying the construction yard easier. Simply crush any Mammoth tank you encounter with the Redeemer.
The ZOCOM base in the east is better protected, with several sonic emitters along the perimeter. However, its power plants are clustered together. Build a few flame tanks, wipe out the power plants with an ion cannon strike, then have the flame tanks move in and mop up the base. This will conclude the mission.
Valuable assets[]
- A Tiberium spike in the vicinity of the Nod base
- Another Tiberium spike south of ZOCOM's first forward base
Trivia[]
- If the reclamator hub is destroyed before its capture, the mission will not fail but will become unwinnable, requiring a restart.
- Even though the MARV's full name is given as "Mammoth Armored Reclamation Vehicle" in the Intelligence Database and the unit spotlight, the pre-mission cutscene and briefing for this mission give the full name "Mammoth Armed Reclamation Vehicle".
- The 3D MARV model shown in the pre-mission cutscene has the same loadout as the MARV shown in the official artwork: rockets, grenade launchers, sniper rifle, and railgun. Even though ZOCOM does not use Zone troopers, and thus do not have access to the railgun hardpoint.
- In the bottom-right hand corner after the map expands, wreckage of the GDSS Philadelphia can be seen.
- The map for this stage lacks the green fog usually present in Red Zone maps, most likely due to ZOCOM's reclamation efforts.
- On the top left and top right corners of the map, two sections of a walled city can be seen under construction, presumably representing the expansion of Blue Zone.
- Due to the fact that the Redeemer and its respective production structure was first deployed here, the Redeemer Engineering Facility in this mission costs thrice its regular price and power usage (9000 credits and 30 power respectively). Also, if the Redeemer Engineering Facility is destroyed, it will result in a mission failure.
Videos[]
| |||||||||||||||||||||||||||||||||||||||||||||||||||||||||||||||||||||||||||