Ruin and Reunion is the last mission of Yuriko's campaign in Uprising.[1]
Background[]
While Yuriko headed back to the Research Center to confront Shimada after laying waste to Camp Dakota last mission, News3 speculated as to how the detention center where the psychic girl was imprisoned was massacred and utterly destroyed with no trace as to who done it.
Meanwhile, Yuriko reached Japan and had a heart of revenge to personally bring Shimada to ruin and rescue Izumi...
Events[]
| “ | Izumi! I'm coming! - Yuriko |
” |


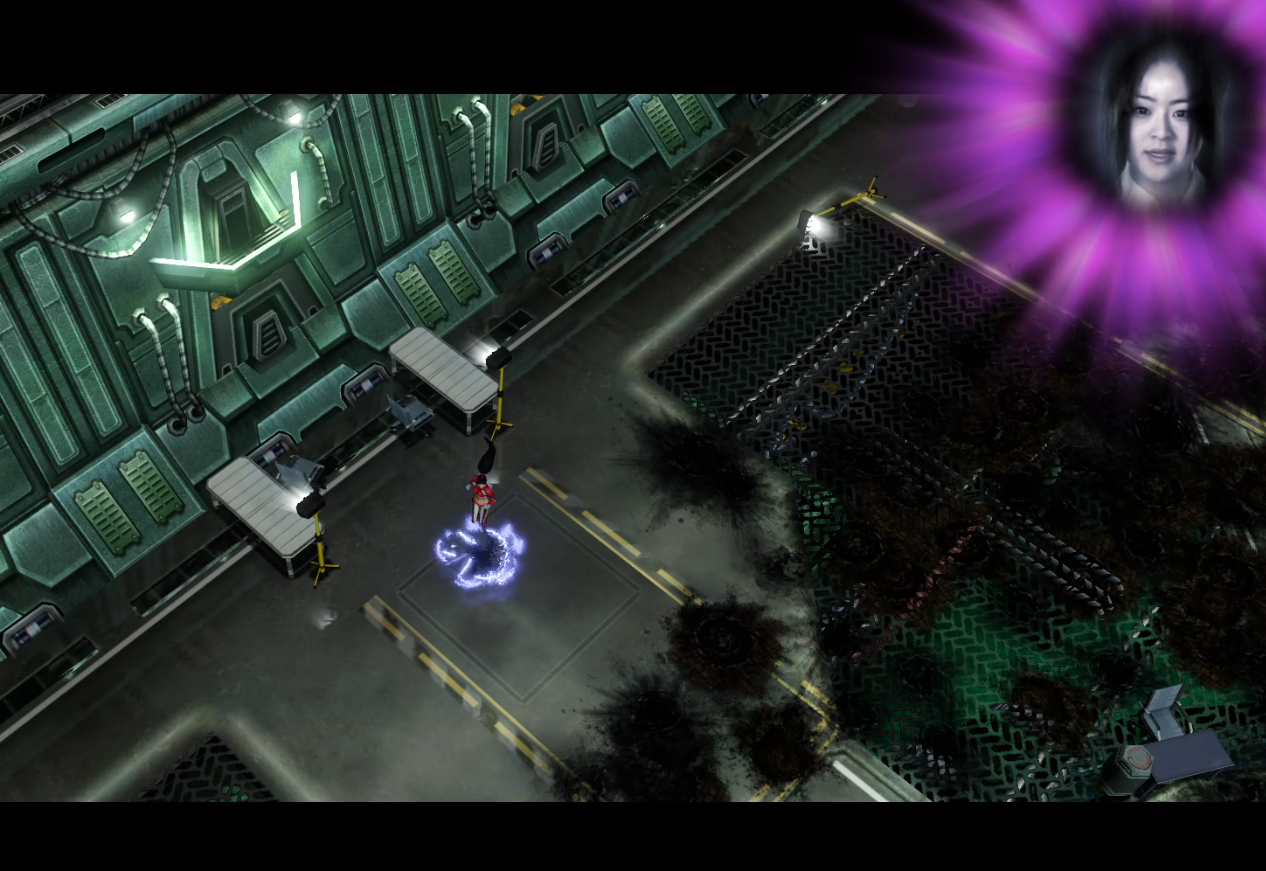
Yuriko getting surrounded after entering the rebuilt Shiro Sanitarium to rescue her sister.
Upon her return to the reconstructed Shiro Sanitarium, Yuriko was instantaneously besieged by defending imperial warriors, whom she dispatched with swift proficiency. Her subsequent objective was to locate a functional security elevator that would enable her to penetrate the facility's lower levels where Dr. Shimada and Izumi resided.
The Sanitarium had been redesigned and split into four fortified segments, with improved defenses compared to its previous state. The defenses now consisted of Rocket Angels, Wave-Force Artillery, Defender-VX units, and psychic inhibitors, all strategically spread throughout the premises.
As Yuriko reached the elevators in the initial three sections, Dr. Shimada sabotaged each in turn, sternly warning Yuriko of his obligation to prevent her from wreaking further havoc. Undeterred, Yuriko continued to the last operational elevator, which transported her to the lower levels of the complex. Here, she was confronted by a formidable defense force, comprising of numerous elite King Onis, Steel Ronins, and Giga Fortresses, backed by psychic inhibitors. After a strenuously fought battle, Yuriko emerged triumphant, having vanquished Dr. Shimada and successfully liberated her sister Izumi.

Jealous of Yuriko's powers, Izumi betrays Yuriko & had one final battle to the death.
| “ | My powers, they are returning... and now for you... you weren't always the most powerful one... before Shimada imprisoned me, before he tried to control me, I was the strongest. And I will be again. - Izumi, after being freed |
” |
However, her victory was short-lived, as Izumi turned traitor, believing herself superior in power to Yuriko. The sisters engaged in a cataclysmic psionic battle, which ultimately saw Yuriko defeating and killing Izumi.
The intense psionic energies unleashed during their conflict brought about structural instability in the Sanitarium, causing it to collapse. Yuriko narrowly escaped the falling edifice, now left to contemplate her next course of action in the aftermath.
Walkthrough[]


(Note: This walkthrough assumes Hard difficulty.)
Your starting position is surrounded by Imperial warriors. Immediately move left and use the Psychokinetic Burst, which should kill all warriors on the left. Use Psychic Domination on the group to the north to create some distractions, then finish off the rest. Once enough warriors are killed, the rest will switch to katanas and charge you. The katanas can kill you very quickly, so access the nearby terminal (Damage Report). The resulting Psionic Shield will reflect the damage and kill the remaining warriors.
Once all the Imperial warriors are killed, four doors leading to different sections of the facility will open, each leading to a Shiro elevator. Shimada will attempt to stop Yuriko by destroying the first three elevators, so all four sections must be cleared to reach him. They can be completed in any order. This walkthrough assumes the order below.
Detention & Duplication Quadrant[]
The first intersection is defended by a Defender-VX and a Steel Ronin, activate your shield and destroy them. To the southeast is a psychic inhibitor, which will nullify all your psionic talents while you are within its radius, destroy it. After proceeding down the corridor, you will find some patrolling Tankbusters. Do not enter the room filled with ore to the southeast: it is filled with Imperial ore collectors, which can kill you very quickly if you are not prepared. Instead, proceed northwest.
You will soon see a large gathering of Imperial infantry. Stay away from the explosive barrels, which can quickly drain your health. To the northwest, you will find Izumi's old cell with a terminal (Escape Plan) inside. Continue northwest to find a Shiro elevator. To the northeast, there is a large group of Shinobi near a trauma station, kill them with your psychokinetic burst. Further northwest is a vehicle elevator protected by two Tsunami tanks, destroy them.
Near the vehicle elevator is a door which opens automatically when Yuriko approaches, revealing four Steel Ronins and a terminal (Buying in Bulk). Activate your shield and destroy them, or run past them to activate the terminal. The cell just southeast of the terminal room contains a little girl. However, if Yuriko approaches her, two Sudden transports will reveal themselves and unload infantry, and the girl will be instantly killed. Instead, enter the room right next to it, behind the trauma station. Inside is an undefended terminal (Off the Charts).
Proceed down the hallway to return to the central room. Beware of the Mecha Tengus rising from the hole near the corners. Once you return to the central room, you will be attacked by a large group of Rocket Angels. Either kill them with your psychokinetic burst or mind control them.
Security & Administration Sector[]
Once you step into the area, you'll face a Steel Ronin accompanied by various Imperial Warriors and Archer Maidens. Use your abilities to efficiently dispatch them. In case of urgent healing, head east to reach a terminal (Bows and Accessories).
Continue moving to the north where multiple Steel Ronins are defending the area. Use your shield and the nearby Trauma center to effectively counter them. Proceed further north where a squad of Imperial Warriors, Tsunami Tanks, and four Defender VX Towers await. Employ your psychokinetic burst to eliminate the warriors. Be sure to activate your shield before engaging with the towers, then use your slam to hurl explosive barrels or Tsunami Tanks at the towers for quick destruction. To the east, you'll find an elevator that periodically spawns enemies. As you approach this section, be prepared for an ambush by a squad of Mecha Tengus near the Trauma center, so have your shield at the ready.
As you move further east, two King Onis and several Mecha Tengus will confront you. Utilize the nearby explosive barrels to swiftly dispose of them and destroy the elevator. Once the elevator is destroyed, a team of Rocket Angels will swoop down to attack. Use your domination ability to control them. Returning west, you'll find a terminal (The Russian Genius) protected by a psychic inhibitor and several Shinobis. You can bypass the psychic inhibitor by going around it and using your shield against the Shinobis' attacks.
Head back to the central area and proceed north to face a lone Wave-Force artillery unit. Move to the left side and use your slam ability to hurl an explosive barrel to destroy it. On the left side, there is a terminal (Big Girls Don't Cry) protected by a single VX Defender. Continue north to reach the Shiro Elevator.
Oni Testing & Coronation Chambers[]
As soon as you enter the area, you will be confronted by two King Onis. Begin by attacking one of them briefly, then swiftly shift your focus to the second one. Following this, be prepared to face numerous King Onis that will charge at you from all around. Find safety in the Trauma centers and use your shield in conjunction with slamming nearby explosive barrels to eliminate the King Onis efficiently.
In the southwestern section, you will find an elevator guarded by a psychic inhibitor. This elevator will intermittently spawn Mecha Tengus and Tsunami tanks. Make an effort to destroy as many enemies as you can outside of the inhibitor's effect before destroying the elevator.
On the northeastern side of the map, two defender VX towers are positioned to protect a terminal (Weird Science), utilize your psionic slam to hurl explosive barrels at these towers to destroy them. On the opposite side of the same area, you'll find another terminal (A Very Special Occasion). This terminal is safeguarded by two King Onis and a psychic inhibitor. Start by throwing explosive barrels to demolish the psychic inhibitor, then switch to using your shield to fend off the King Onis.
Finally, head to the southeastern section of the map to proceed to the Shiro Eevator guarded by a single psychic inhibitor.
Nanotech Laboratories[]
Immediately after entering this area, you will be ambushed by two Sudden transports carrying Tankbusters. Kill them with psychokinetic burst and telekinetic slam, and return to the Trauma Station to heal if necessary.
Further down the hall is a series of three psychic inhibitors, protected by Steel Ronins, Wave-Force artillery, Tsunami tanks, and numerous infantry. Since entering the psychic inhibitor radius disables your shield and cancels the effects of psychic domination, try to destroy as many enemies as possible from the outside and only enter if you must. The Wave-Force artillery will only fire along a set path, but will try to back off if you get too close. Try to finish one as fast as possible to prevent a pincer attack.
To the north west is the previously mentioned ore room. You should now be ready for it. Enter the room with your shields up, destroy as many ore collectors as you can with normal attack and telekinetic slam, but remember to retreat before your shield is down. In case of emergency, use psychokinetic burst to disable the ore collectors around you. There is a terminal in the northwest corner of the room (Gone But Not Forgotten). Upon accessing it, you will be ambushed by Imperial warriors, but since the terminal fully heals you, they should be no problem.
Return to the main path and head southwest. There is a hole that spawns Chopper-VX, and some Tankbusters. A Trauma Station is around the corner, followed by a psychic disruptor. Destroy them and heal. The elevator is to the northwest, but do not go there yet. Head southeast to find a terminal protected by three Steel Ronins. Access the terminal (List of Known Side Effects) and destroy the Ronins, but do not use any psionic talents yet: the Trauma Station is surrounded by disguised Sudden transports. Once you finish the Ronins, approach the Trauma Station and activate your psychokinetic burst once all the infantry unload.
Head southeast, then west. You will encounter some heroic Archer maidens, who hit very hard. Protect yourself with shield or mind control them. After taking out some infantry, you will find a trauma station, go southwest to find the trauma center, which contains a terminal (Recently Deceased). Accessing it causes numerous Shinobi to appear. Use shield to deflect their shurikens and kill them.
Once you make sure you have collected everything, head to the elevator to confront Shimada. On your way, you will find a vehicle elevator protected by numerous King Onis and Tsunami tanks. Shield yourself or disable them with psychokinetic burst, then destroy them and the elevator.
Lower Levels[]
Killing Dr. Shimada[]
Upon entering this area, prepare for a challenging confrontation with a formidable defensive force composed of numerous elite King Onis, Steel Ronins, and Giga Fortresses (in Sky-Fortress form). In Medium and Hard, more forces are present in and psychic inhibitors are also present. Prioritize destroying the reinforcement-spawning elevators on either side of you, and remember to keep moving to avoid the Giga Fortresses' God Breath.
Once the elevators are demolished, shift your focus to the psychic inhibitors. It's important to use your shield only when necessary for healing at the adjacent Trauma centers in order for it to have an effect. Avoid standing in the center of the Trauma centers to prevent the Giga-Fortress from destroying them. Use your slam ability to launch the nearby explosive barrels at the approaching King Onis and Steel Ronins to quickly dispatch of them. Once they are defeated, you can concentrate on taking down the remaining Giga Fortress.
When his guards are defeated, Dr. Shimada will start to dart around the area. His agility makes him hard to hit, and only direct attacks will inflict damage. Position yourself in the center and anticipate his movements to intercept him effectively. Consider using your slam ability to clear away the surrounding floodlight stands, as this will give you more maneuverability.
Izumi's Betreyal[]
After killing Dr. Shimada, Izumi will betray you and become your final opponent. As she attacks you, waves of Shinobi will appear to attack you. Izumi can only be harmed by Psionic Slam and the Shinobi's attacks, so deploy your shield and try to dominate as many Shinobis as you can to take her down quickly, as there are no trauma stations to recover Yuriko's health in this phase.
Secret Files[]


A map of the stage showing all the secret files location
| Damage Report | - "Looks like an old invoice concerning the damage I caused the last time I was here. So many billions of yen... But still they dared to rebuild this place." | |
| Weird Science | - "This must be where they do the cloning. There could be hundreds of me!" | |
| A Very Special Occasion | - "A list of donors to this facility and an invitation to some sort of banquet. Now how come I didn't get an invitation?" | |
| Recently Deceased | - "This must be the trauma center. I bet I can fill it with bodies!" | |
| List of Known Side Effects | - "It seems they invested in psychic inhibitors this time around to try and dampen my psionic talents. We'll see how that goes for them." | |
| Gone But Not Forgotten | - "A whole bunch of military grade gear from this place went missing in the Sakhalin Islands. Someone's gonna be in trouble." | |
| Escape Plans | - "Such fear lingers here. This must be Izumi's cell." | |
| Buying in Bulk | - "This is a laundry list. Literally. What do these people need with 2000 plaid skirts?!" | |
| Off the Charts | - "Izumi's old report cards... Survivability A+ average. Focus B+ average. Discipline A- average. Power S average." | |
| Bows and Accessories | - "A detachment of imperial archer maidens volunteer to provide extra security here in exchange for psychic training." | |
| The Russian Genius | - "A profile of Doctor Gregor Zelinsky, considered to be an expert in relativity and physics and a complete nutjob. How do he and Doctor Shimada know each other?" | |
| Big Girls Don't Cry | - "They seem suprised by how resistant I've become to physical harm and physical pain. Apparantly they've taken quite an interest in trying to find my breaking point!" |
Videos[]
Trivia[]
- Somewhere in the stage is a padded cell with a young girl inside who reuses Yuriko's model from Final Exam. If Yuriko enters the room, a group of Shinobis will appear, kill the girl, and attack Yuriko. Presumably, the girl was another test subject.
References[]
- ↑ Electronic Arts Los Angeles, Command & Conquer: Red Alert 3 - Uprising. Yuriko mission 3: "Ruin and Reunion".